Twitch Highlights vs Clips: What is the Difference?
If you want to become a streamer it practically goes without saying that you are going to be using Twitch, as it is not just among the most popular websites in general, it is without a doubt the #1 platform for live video game streaming and the broadcast of esports. Launched in 2011, Twitch has well over 60 thousand partner channels, 3 million broadcasters, and at least 31 million daily users, with an average of 1.4 millions users actively online at any given time.
But before you start on Twitch you might take a little time to understand the terminology about some of the important features that Twitch offers. First, you will want to know the difference between a ‘clip’ and a ‘highlight’. In many ways they are similar, because they both will be about a particularly interesting or exciting brief moment during a livestream. Additionally, both clips and highlights that have been posted to your Twitch account are permanent until either you or Twitch removes them.
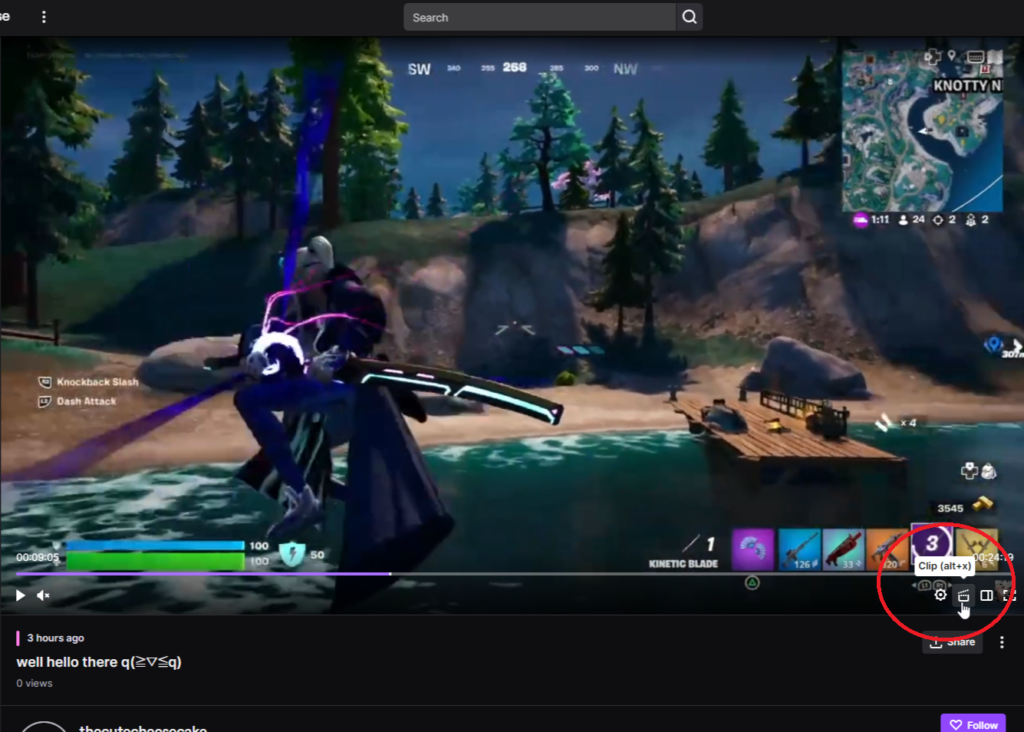
However, there is a very important difference: Twitch clips can be created by anyone, including your viewers, while only you (or your mods) will be able to create highlights. Naturally this means that the reason for either a clip or a highlight being created depends upon the circumstances, that is to say that the reason a viewer creates a clip of your livestream is because they personally liked what happened in the clip, whereas the reason you might create a highlight is because you think what happened in the highlight may be a good example to new viewers (and potential new subscribers and fans) what your content is like. With that in mind, you will want to show off the best of what you’ve got.
Ofcourse, you can also use Twitch clips for this as well. For example, clips are excellent for sharing to social media, like Twitter, Facebook, Reddit, Instagram, or TikTok, because these are just one quick 60 – 90 second clip so that people can be quickly introduced to you. But generally a lot of viewers are much more likely to watch a 2 minute video rather than if you posted a 1 hour video which a fair number of people are going to click away from, which you don’t want. You want eyes glued to screens and watching your content. These short clips are also more likely to be shared by your followers which is very important. On the other hand, streamer highlights are very useful when collected together as a montage video that you can post to your YouTube page because they can generate a lot more views than if you simply posted your entire unedited stream. One main reason for this is that people are much more likely to be willing to watch a 30 to 60 minute video but if they see a video that’s 6 or even 8 hours long, they are probably going to pass on it. Again, you do not want this.

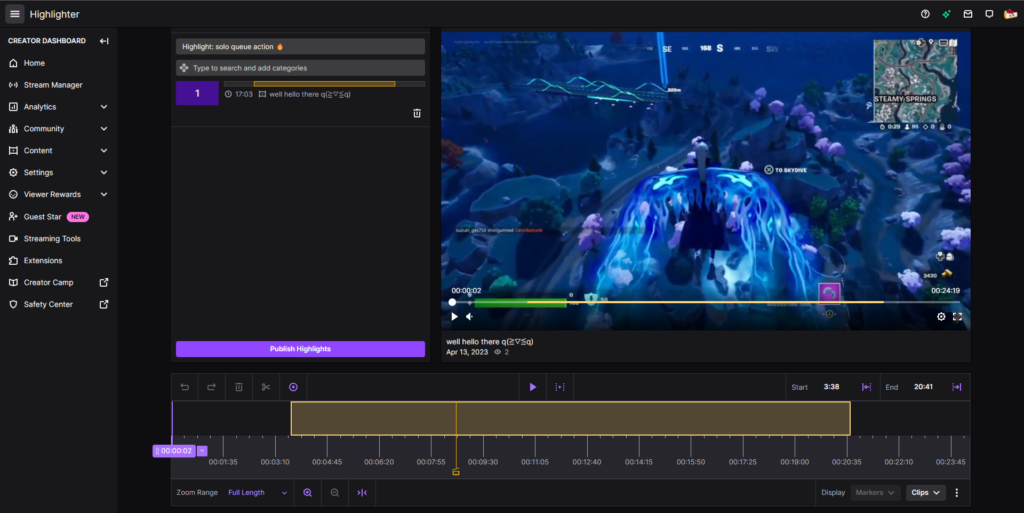
Now that we’ve got that covered, we should go over the basics of how to create a Twitch highlight. First, you must enable past broadcasts in the settings menu of your Twitch account. As long as it is enabled, your live streams will be held on Twitch for 14 to 60 days depending upon the level of your Twitch account status and other factors. This is a good time to mention another reason why stream highlights are so useful, which is because they are a way of preserving content from your livestream on your Twitch page because highlights are permanent (until or unless they are removed).
Next, open Video Producer, which can be found in the left navigation menu on your Creator Dashboard, or in the menu below your Profile Picture on the Home Page. Under one of your previous live broadcasts you will see a button labeled ‘Highlight’ which will open the Highlight Editor when clicked. It will automatically create a small segment on the video, which you can adjust to include however much of the stream you wish to include within that highlight. You can create another highlight by dragging the purple timestamp across the video timeline to the next segment of the stream that would make a good highlight, which ideally you’ve already indicated with a Stream Marker. Finally, send a little time double checking that you have each highlight correctly selected, and then click the ‘Publish Highlights’ button. Now your highlights video will appear on your Twitch page!
That being said, there is a much easier and quicker way to create a video of your Twitch stream’s highlights. I know what you’re thinking, “This must be some kind of expensive and difficult to use software.” Nope. This is an online service and requires no additional software, is almost entirely automated, easy to use, and is currently completely free to use while in Open Beta. This new service is called Sizzle.gg, and is designed by gamers, for gamers!
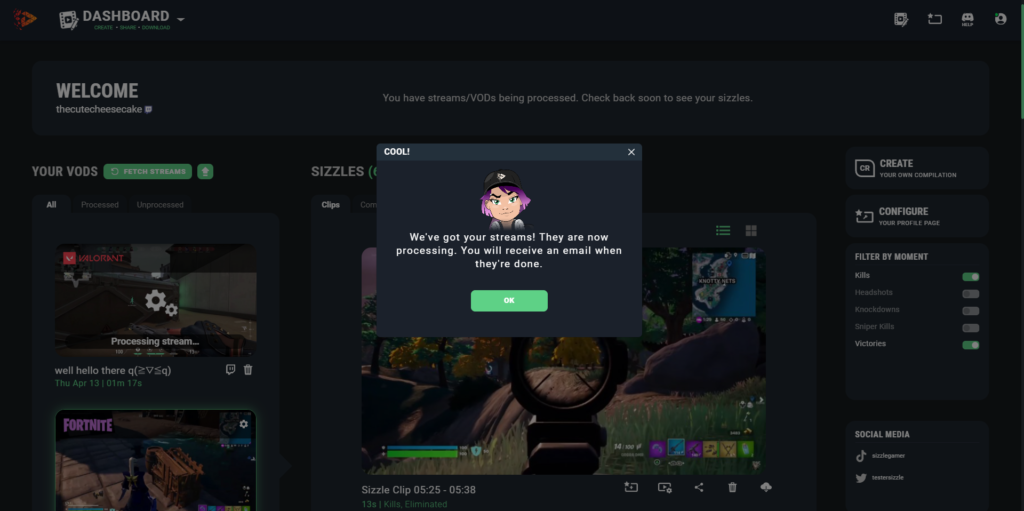
All you need to do is just head over to Sizzle.gg and create a Sizzle account. Once that’s done you just need to link your Twitch and/or YouTube accounts to your new Sizzle account, which will allow Sizzle to detect your most recent game streams. From your Sizzle dashboard you will be able to see those streams and will allow you to select which stream video you want Sizzle to automatically edit into a Sizzle highlight video. When the automatic editing is done you will be notified via email of the completion of your order, which takes only a few hours. If you are interested in making it easier to edit the best highlights of your video game streams, you don’t have any reason not to try it out! Create an account on Sizzle today!